I want you to remember back when you were little.
Ok, little you, what was the best possible thing that you could eat saturday morning, while watching cartoons?
Captain Crunch? Lucky Charms? Frosted Flakes?
If you said yes, then you were one of the lucky ones.
That is not what my sister and I got for breakfast.
We got Honey Nut Cheerios or Kix or
Oh's and we thought we had lost our ever loving minds when Berry Berry Kix were introduced!!! Well, I now see that we were the very fortunate ones, being taught what the more healthy and acceptable breakfast was, but that's beside the point (thanks mom and dad!)
Sugary cereals and breakfast treats were what we pined for. They were why my parents never took us down the cereal isle when we went to the grocery store for not wanting to hear the whiney pleads of the little 8 and 5 year old voices of my sister and me.
And what was the very most desired breakfast treat of them all? Pop-Tarts. Those things that now more closely resemble slabs of cardboard coated with epoxy frosting. I guess the taste-buds of the 8 year old me were maybe a little less refined.
So, when I came across the recipe for home made poptarts, my heart sang. I was immediately transported back to my 8 year old self, laying on my stomach in the family room with my sister watching Garfield.
And a recipe like that deserves to be made immediately!
Now, don't be afraid of making these for fear they might be too putzy. The very most daunting task of this whole thing is pinching off the edges of the individual "tarts" and if that is all that's preventing you from making these, then you, my very unfortunate friend do not deserve the melt in your mouth deliciousness that awaits.
Home Made Pop-Tarts
Adapted from www.kingarthurflour.com
Pastry
2 cups Unbleached All-Purpose Flour
1 tablespoon sugar
1 teaspoon salt
1 cup unsalted butter, cut into pats
1 large egg
2 tablespoons milk
Strawberry Filling
3/4 cup strawberry preserves
1 tablespoon corn starch
1 tablespoon cold water
Make the dough:
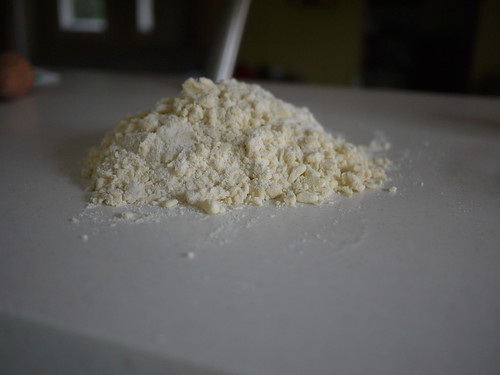
1)Whisk together the flour, sugar, and salt. Work in the butter until the mixture holds together when you squeeze it, with pecan-sized lumps of butter still visible.
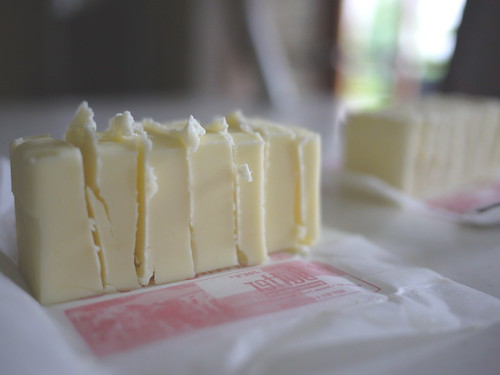
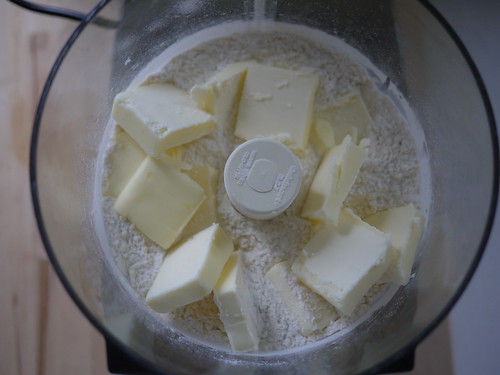
You can do this either by hand in a mixing bowl or in a food processor. I've done it both ways and although the food processor is quicker, you will need to transfer the mixture from the processor bowl into a mixing bowl to proceed to the next step.
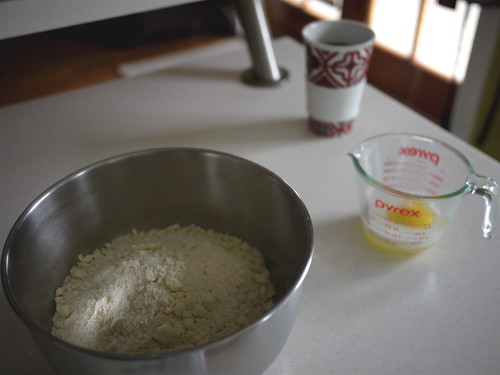
2)Mix the egg and milk, and add it to the dough, mixing just until everything is cohesive.
The mixture will be a little shaggy at this point so I just dump it out onto the counter and start squishing the mixture to get it to the point of manageability for the next step.
3)Divide the dough in half. Shape each half into a rough 3" x 5" rectangle, smoothing the edges. Roll out immediately; or wrap in plastic, and refrigerate for up to 2 days.
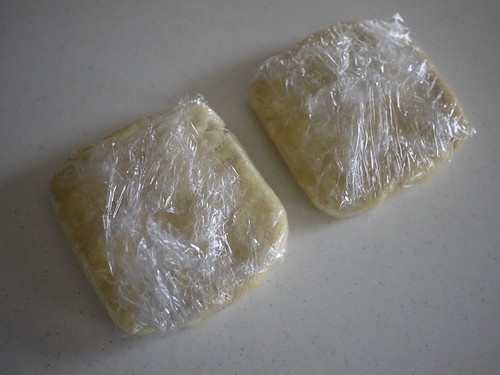
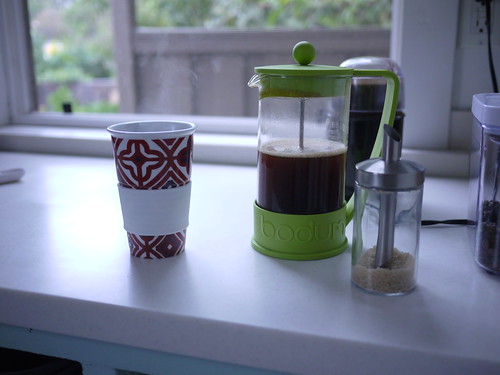
I have done the recipe both ways. I've rolled it out immediately and have let it sit in the fridge for a few hours. I have found it much easier to wrap them up and leave them in the fridge for a few hours. Then I have time to make the filling and have a cup of coffee...
Make the filling:
1)Combine the cornstarch and water first and then add to the jam in a small saucepan. Bring the mixture to a very low boil and simmer, stirring, for 2 minutes. Remove from the heat, and set aside to cool.
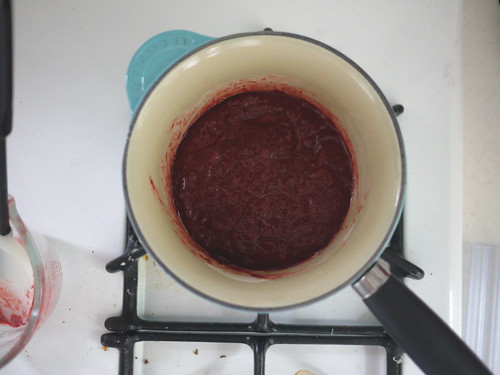
Please watch this closely because the minute you turn around it will burn to the bottom of your pan, and nobody likes burned bottoms! (haha)
Assemble the tarts:
If the dough has been chilled, remove it from the refrigerator and allow it to soften and become workable, about 15 to 30 minutes.
1)Place one piece on a lightly floured work surface, and roll it into a rectangle about 1/8" thick, large enough that you can trim it to an even 9" x 12".
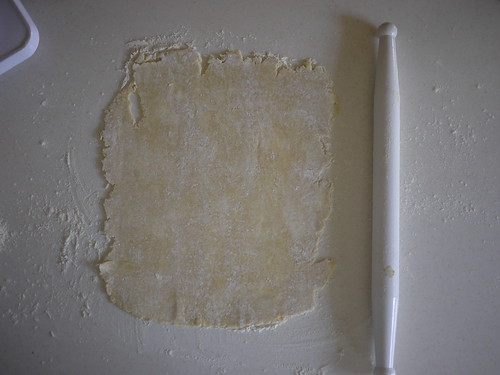
I used my cutting board to approximate the shape.
I have also made two different thicknesses of the dough. I made one with 1/4" thickness and one with 1/8". I preferred the 1/4" but I also like carbs. Alas.
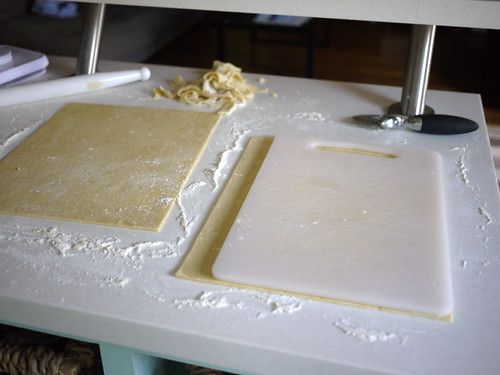
2)Roll the second piece of dough just as you did the first.
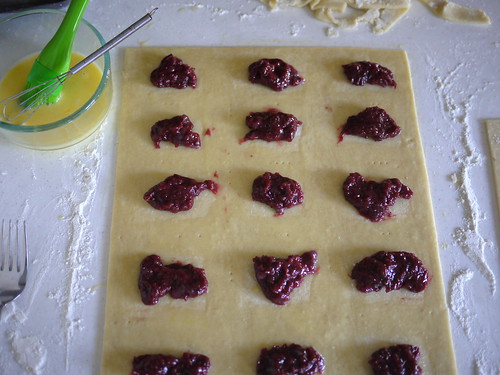
I eyeballed the approximate dimensions of the tarts and marked with a fork the edges of the rectangles.
I also made my tarts much smaller than the store bought version. I find that because these are home made they pack a bigger punch and thus you don't need them as big. Plus, then you can eat more of them and not feel as guilty. At least that's my reasoning.
3)Place a heaping tablespoon of filling into the center of each marked rectangle. Beat the egg, and brush the surface of the dough between the little piles of filling. This will be the glue that keeps the top and bottom half together.
4)Place the second sheet of dough atop the first, using your fingertips to press firmly around each pocket of jam, sealing the dough well on all sides.
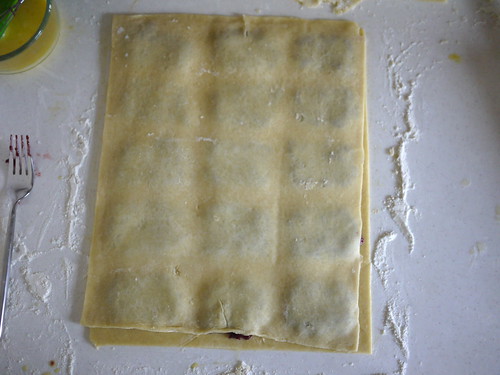
Have no fear if the edges don't line up perfectly...
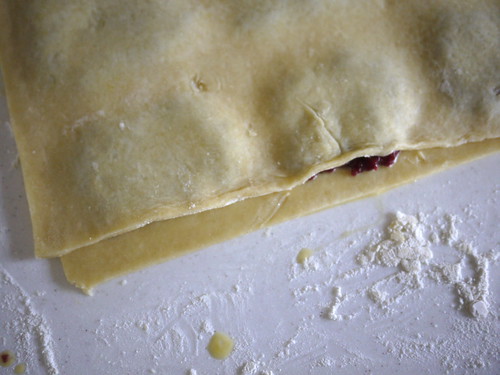
Just fudge it. They will still taste fantastic!
5)Cut the dough evenly in between the filling mounds to make the individual tarts. Press the cut edges with your fingers to seal, then press with a fork, to seal again.
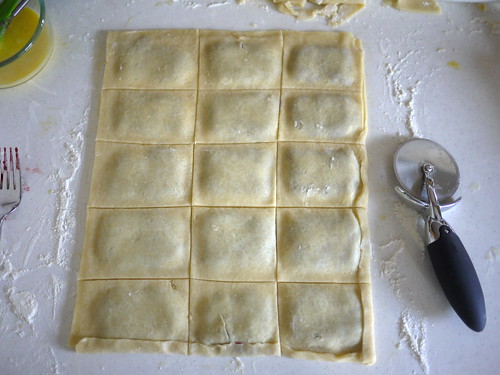
I used a pizza cutter to cut the individual tarts. A pastry cutter or a sharp knife would would just as well.
6)Gently place the tarts on a lightly greased or parchment-lined baking sheet.
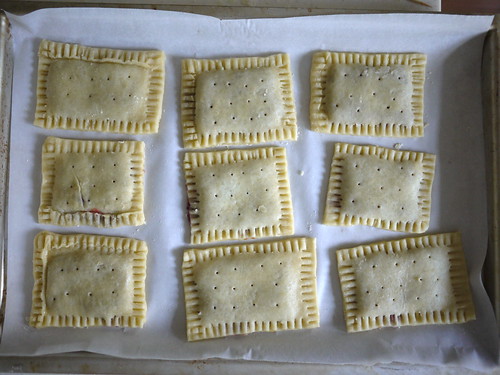
Prick the top of each tart multiple times with a fork.-Note that I found a wood bbq skewer works much better as it pierces the pastry cleanly instead of squishing it down more as the fork does, but whatever works for you.
I brushed mine with a light egg wash the second time I made these as I found that it gave the tops a lovely browned color but if you want the genuine store bought aesthetic then, by all means, please skip the egg wash.
I also sprinkled some of the eggwashed ones with sugar in the raw. Those turned out quite lovely.
7)Refrigerate the tarts (they don’t need to be covered) for 30 minutes, while you preheat your oven to 350°F.
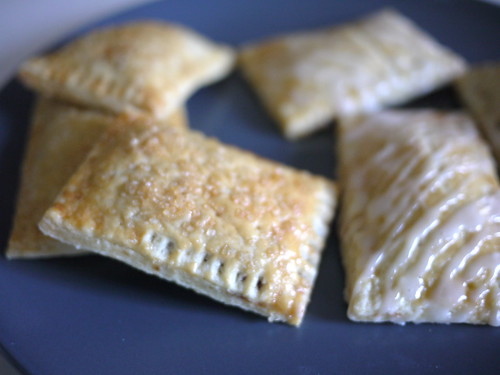
8)Remove the tarts form the fridge, and bake them for 25 to 35 minutes, until they’re a light golden brown. Remove them from the oven, and allow them to cool on the pan.
For the tarts that I didn't sprinkle with sugar, I made up light icing with powdered sugar and a dash of milk and then drizzled it over them after they had cooled.
Now take a plate of these and go watch the Snorks.
Make Ahead Directions:
You can make this recipe ahead of time up to step six. While you have them laid out on the cookie sheet, place them in the freezer for a few hours.
After they have frozen through, place them in a zip-lock bag. These can be stored this way up to 6 months. Although, I doubt they'll stick around that long.
When you're ready to make them. Take them out of the freezer, place them on a lightly greased or parchment lined cookie sheet and bake for 40 to 45 mins in a 350 degree preheated oven.